Maybe you’re just like most people, with a couple of go-to necklaces that are not only good-looking but also super versatile, so you wear them pretty often. But, after some extended use, those necklaces might start showing signs of wear and tear, or they might even break. Now, when that happens, you might be tempted to sadly toss them aside. But hold up – no need to panic. This guide will provide you with some methods to rescue your beloved necklaces. Join us in experiencing the charm of DIY!
If a necklace breaks while being worn, there is a risk of losing some or all of its links.
How to Repair Broken Chain Necklaces?
Step One: Prepare Materials
-Needle and thread
-Jump rings (if needed), and a lobster clasp
-Needle-nosed pliers

Step Two: Secure the Clasp
Lay out the necklace a clean and flat surface. Bring both ends of the necklace together, ensuring that the beads or pendant are facing outward and the clasp is on the opposite side.
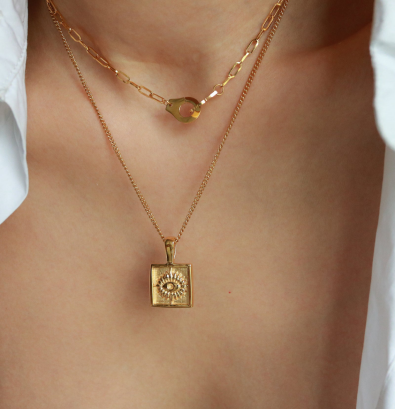
Step Three: If your necklace doesn’t have an open link and the break was in the middle , begin by using a needle-nosed pliers to open a link on one side of the break. Then, connect the open link with the closed link on the opposite side of the break. Using the needle-nosed pliers press the ends of the open link together carefully. To ensure a secure closure, gently pull the link from both sides. If it separates, repeat the steps until the closure is secure.
How to Repair Broken Beaded Necklaces?
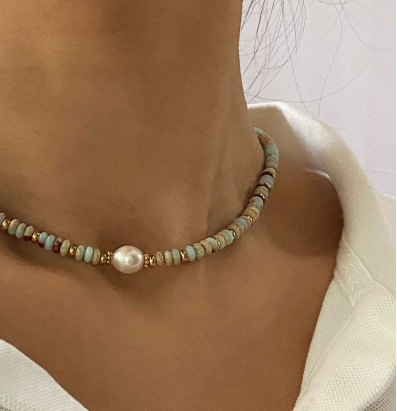
When beaded necklaces break, the beads may scatter on the floor, and some might be difficult to find. In such cases, you can use similar beads with similar size from other accessories or purchase the same type of beads for the repair. -Prepare a jewelry wire or a strong thread.
-Carefully thread them onto a new wire or thread.
-Once you reach the end of the necklace, leave a small excess of wire or thread. Form a loop by bringing the wire or thread back through the last bead.
-Tie a simple knot with the extra wire or thread to create a loop at the end of the necklace. Pull it tight to secure the beads in place.
-For added security, you can apply a small drop of jewelry glue to the knot.
-If your necklace uses a clasp, attach it to the loops at both ends. This allows for easy fastening and removal.
-Trim any excess wire or thread, leaving a neat and tidy finish.
What Factors Should be Considered When Repairing a Necklace?
- Chain Type: Identify the type of chain in your necklace, as chains like herringbone chain, vine chain, twist chain and pope chain may require professional repair..
- Symmetry: When reconnecting the ends of the necklace, keep its symmetry to preserve a balanced and visually appealing appearance.
- Patience: Take your time when fixing it to make sure it’s done well and will last.
- Tension Test: After fixing, gently tug the necklace from both sides to test the strength of the closure. If it separates, go back and review the repair steps.
If the DIY methods are not successful or if the necklace is particularly valuable or intricate, seeking assistance from a professional jeweler would be a wise choice.
Which Types of Chain Necklaces Cannot be Repaired by DIY?
Repairing complex chain necklaces, especially those with intricate designs, multiple layers, or precious gemstones, can pose a significant challenge. Furthermore, effectively repairing necklaces with irreversibly damaged or missing components may require professional assistance.
While the repair methods may not apply to all types of necklaces, simple tools can be used to address issues like link detachment and loosening. If you find it too troublesome, you can take it to a local jewelry store for repairs. Of course, we can prevent these issues by regular cleaning and proper storing. We hope these minor problems don’t bother you, and you can fully enjoy the enhanced charm that necklaces bring. If you have any other questions, leave us a comment!